
Introduction
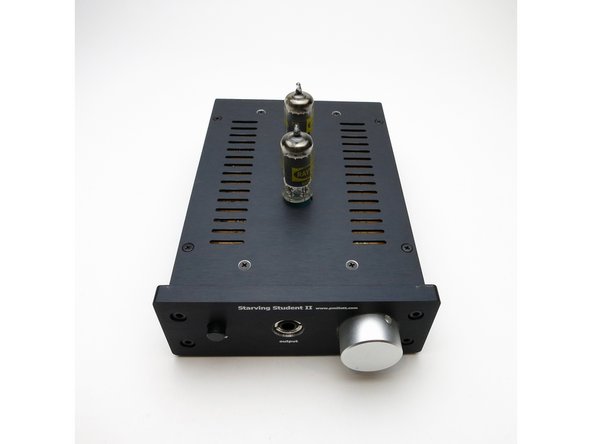
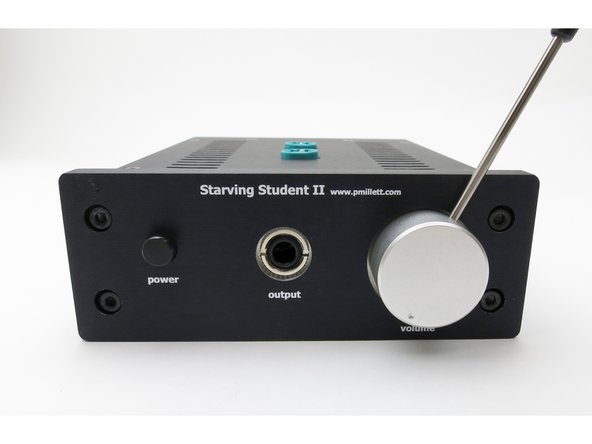
This is a build guide for the Starving Student II hybrid headphone/pre-amplifier.
You can buy a kit at the SSII product listing on the diyAudio Store and discuss it in the SSII discussion thread on diyAudio. Bookmark the SSII master index page to have all the information related to the SSII handy in one place.
-
-
A tube hybrid headphone amp.
-
Sounds incredible
-
line-out to drive speakers or an amplifier.
-
-
-
Read the text.
-
Look at ALL the photos (Mouseover or touch to view thumbnails)
-
Read the text again
-
You can click into the photos and they will open at maximum resolution in a new window.
-
-
-
The SSII is a hybrid (meaning both vacuum tube and solid-state) headphone amplifier and preamp. It is powered by a 48V DC power source.
-
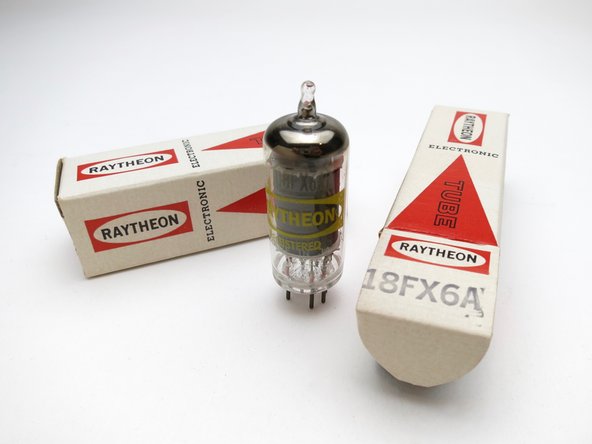
The voltage amplification is performed by an 18FX6 vacuum tube stage. The 18FX6 is a pentagrid converter, normally used in radios. In the SSII it is connected as a triode. The input signal is applied to grid #1 after the volume control.
-
The plate of the tube stage can be loaded with either a resistor, or a constant current source (CCS). The CCS provides lower distortion, but more abrupt clipping. The resistor load clips more gently but has higher distortion. You can select either according to your preference.
-
-
-
This guide is meant to be used in concert with Pete's PDF guide, found below.
-
Pete's fantastic guide - (print this out and have it in front of you) https://cdn.shopify.com/s/files/1/1006/5...
-
-
-
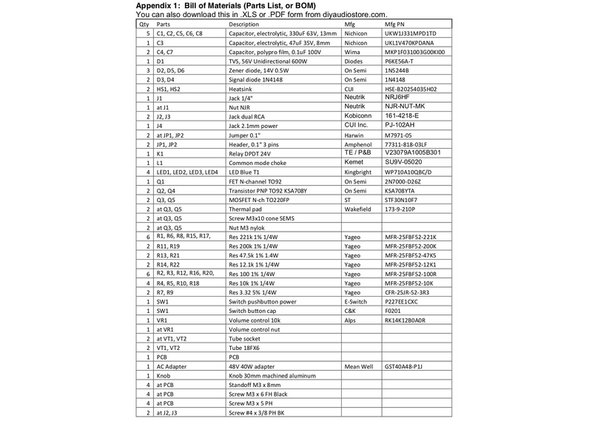
Schematic and BOM for this project.
-
Print these out and have them in front of you at all times during the assembly.
-
The BOM can be used as a checklist as you install each item.
-
-
-
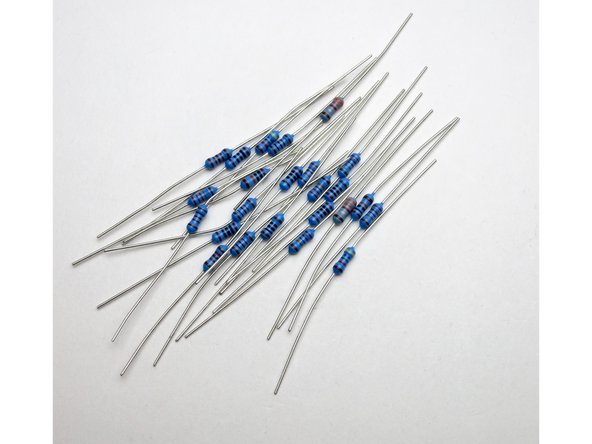
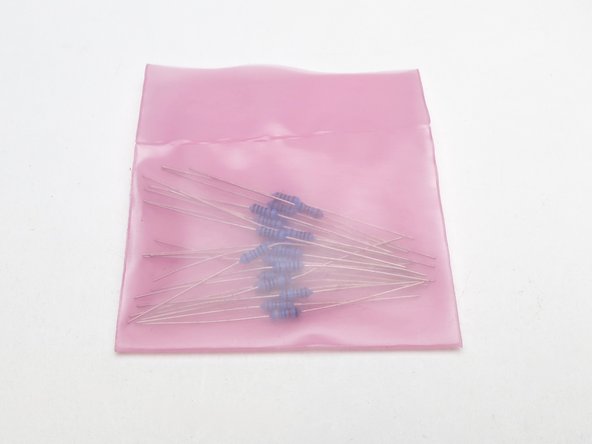
Resistors
-
-
-
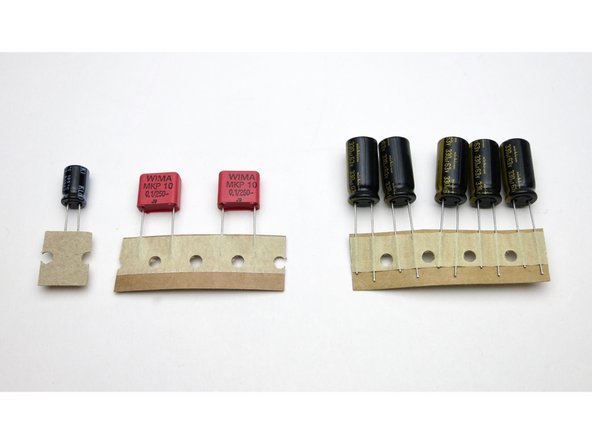
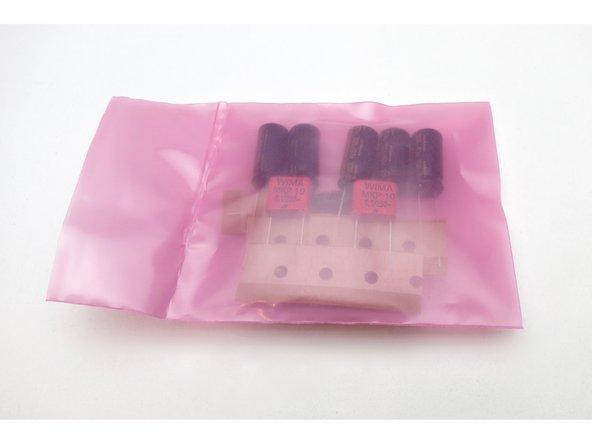
Left to right - 47uF 35v (C3)
-
0.1uF (C4 C7)
-
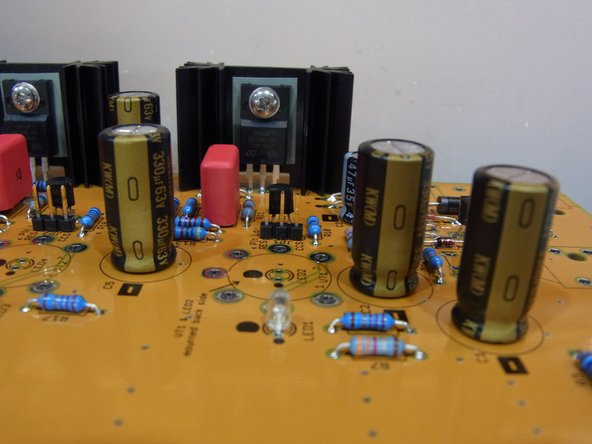
330uF 63v (C1 C2 C5 C6 C8)
-
-
-
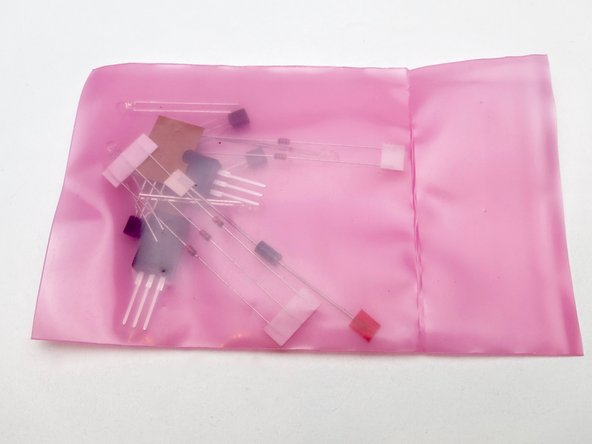
Top Row L to R - P6KE56A (D1), KSA708 (Q2 Q4), 1N5244B (D2 D5 D6), 1N4148 (D3 D4)
-
Bottom Row L to R - Blue LEDs, 30N10 (Q3 Q5), 2N7000 (Q1)
-
-
-
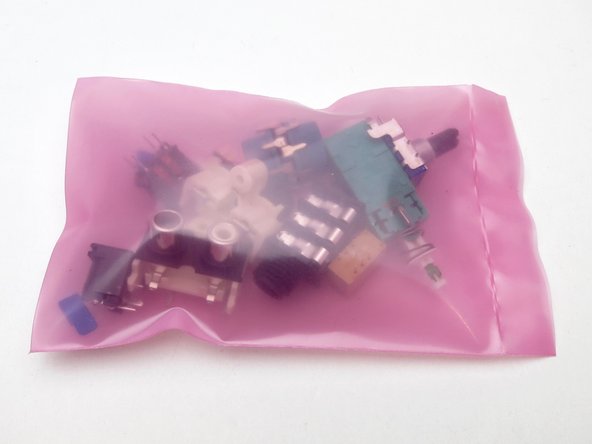
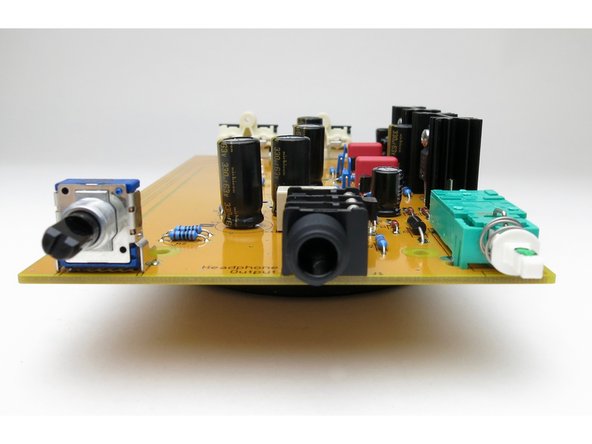
Top Row L to R - Power Switch, Headphone Jack, RCA jacks (2), Power jack
-
Bottom Row, L to R - Choke, Relay, Tube sockets (2), jumper pins and caps (2), volume potentiometer.
-
-
-
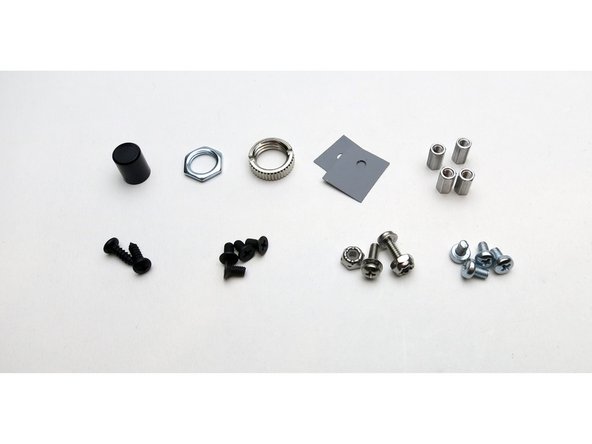
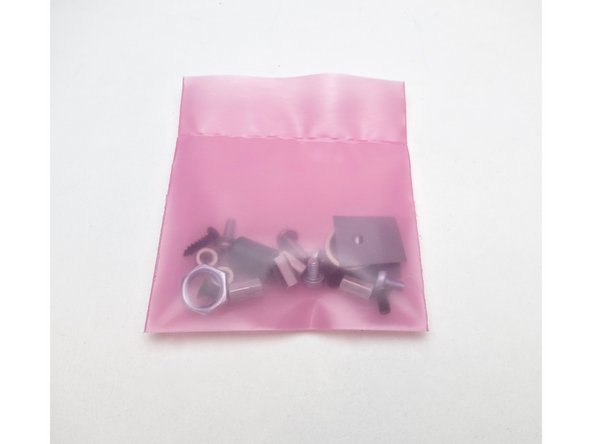
Top Row L to R - Power button, potentiometer nut, Headphone jack nut, Heatsink insulators (2), chassis standoffs (4)
-
Bottom row L to R - Self tapping screws for RCA jacks (2), Black countersunk screws for standoffs on chassis outside (4), Screws and locknuts for transistors on heatsinks (2), silver screws for attaching PCB to standoffs inside the chassis (4).
-
-
-
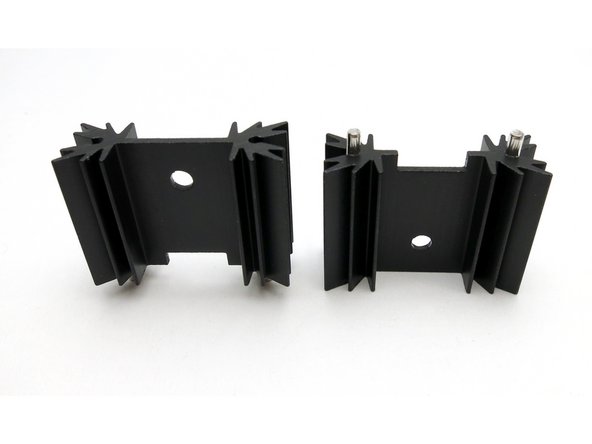
Heatsinks (2)
-
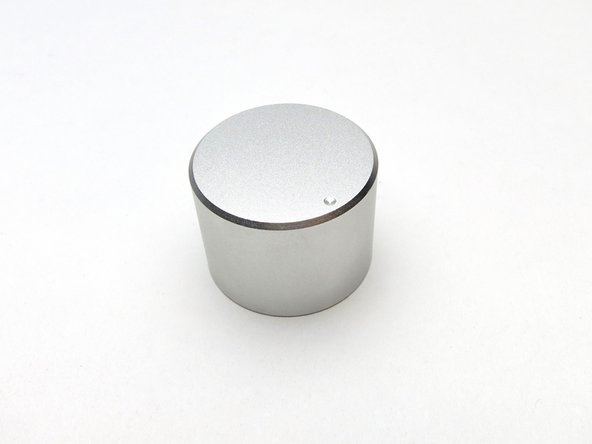
Volume knob
-
-
-
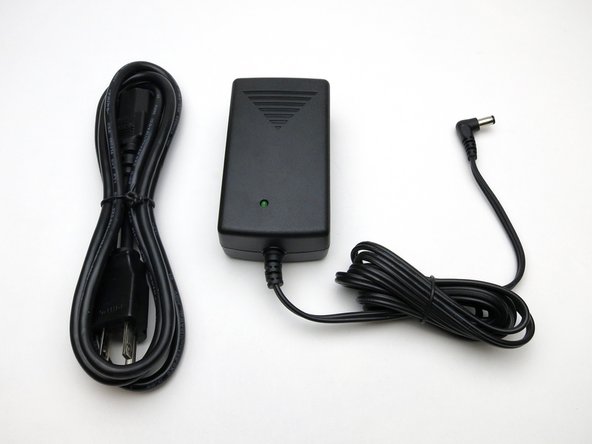
48v Power supply and IEC power cord.
-
-
-
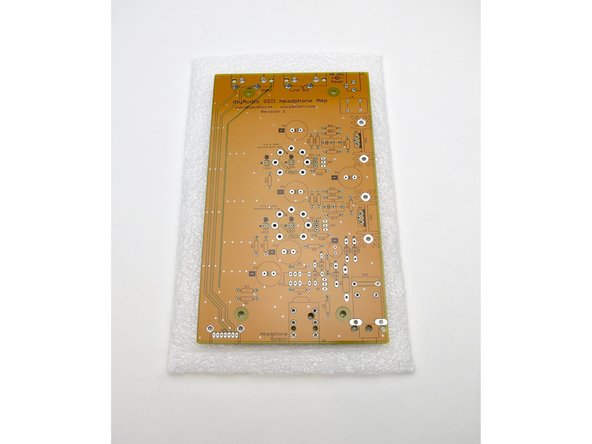
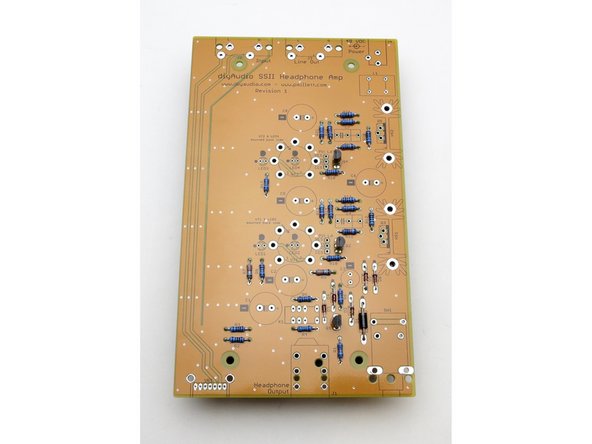
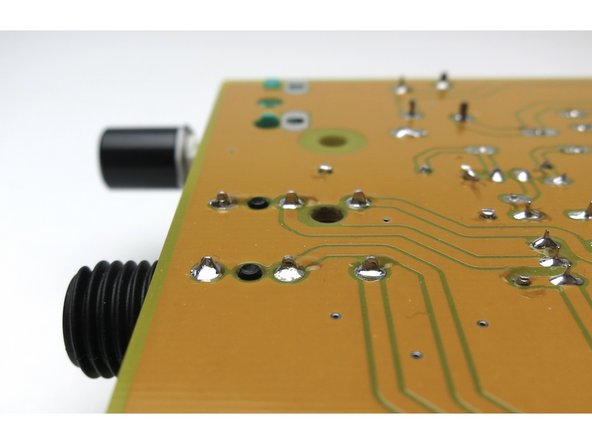
This is the side the majority of the components will be installed.
-
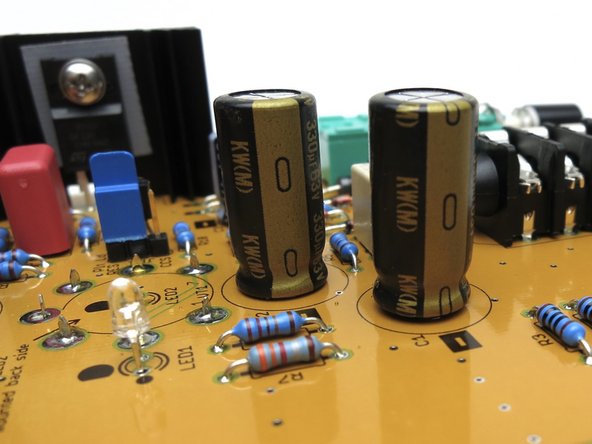
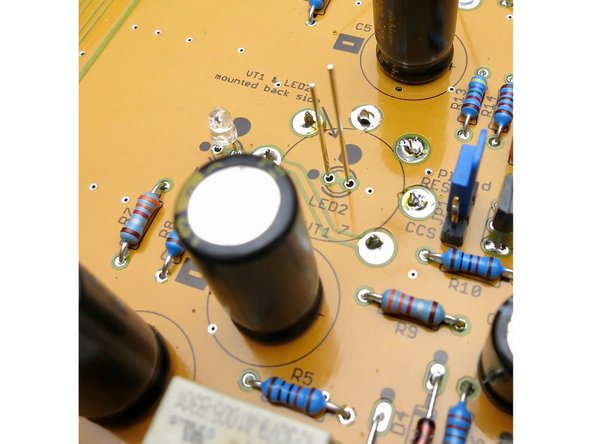
Photo 2 - Note the black "-" (minus) sign on the capacitor outlines and the black dots on the LED pads as well as the outline of the LED showing the flat. Nice touch to help alignment.
-
The outline of the small transistors also has a flat side to help in placement.
-
-
-
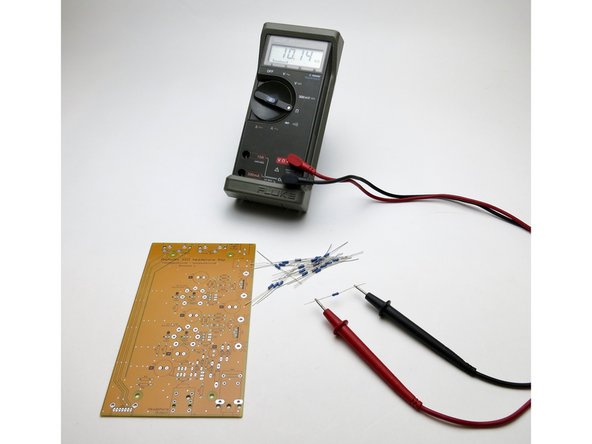
Measure all resistors before soldering into the PCB
-
Photo 2 - resistors stuffed on PCB
-
-
-
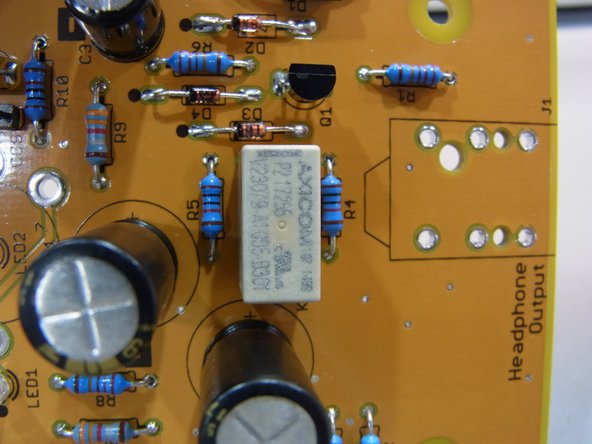
There are 6 diodes total, in three types. In all cases the line on the diode needs to be lined up with the line on the PCB
-
The packages of the orange/black diodes are very similar, place the 4148's first at D3 and D4, and father that the 5244's at D2 D5 D6.
-
If you get the diodes mixed up, the package of the 1N4148 has "4148" printed on it, and the package of the 1N5244 says "244B"
-
Install the small transistors with the flat of the package aligned with the flat of the outline on the PCB.
-
-
-
The Negative side of the can-style capacitors are marked on the can itself.
-
Install the two film capacitors at C4 and C7. There are three holes and the capacitors might be one of two different sizes – install whichever one you have to match the silkscreen
-
The film caps are not polarized.
-
-
-
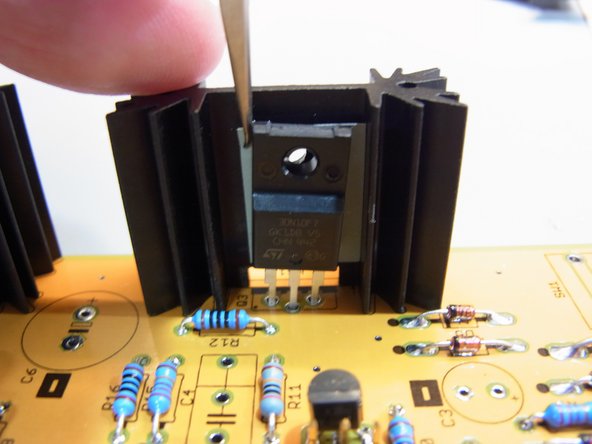
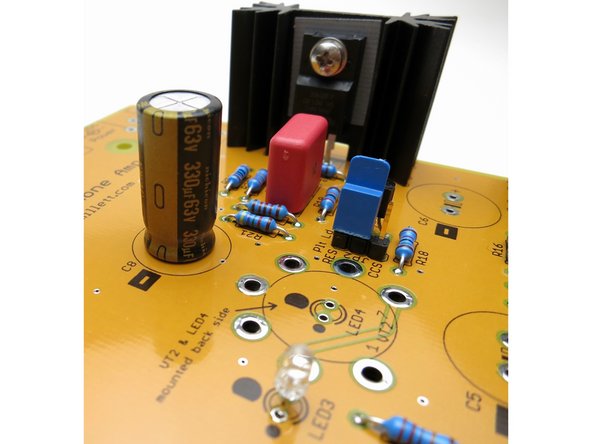
Place the Mosfet.
-
Slip the grey insulating pad in-between the Mosfet and the heatsink,
-
Attach with screw and nut.
-
-
-
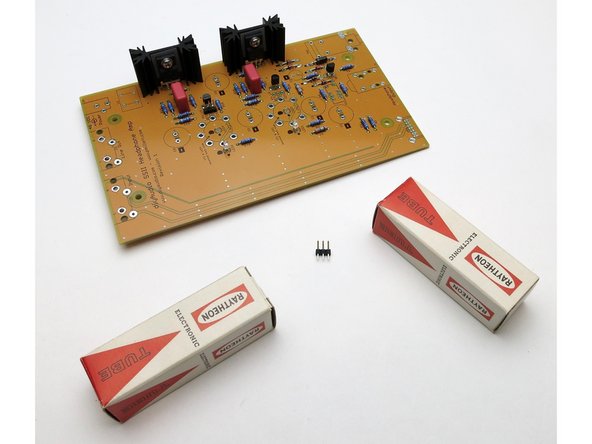
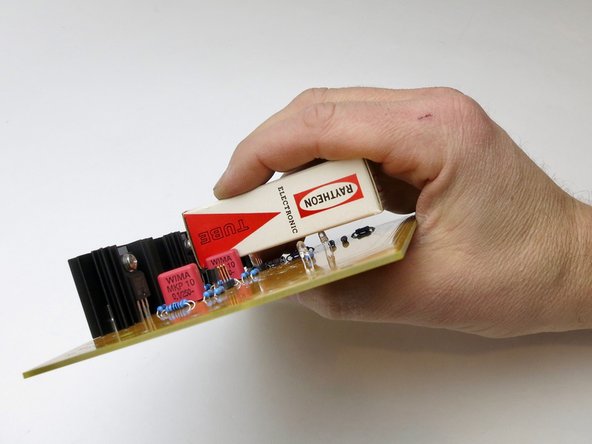
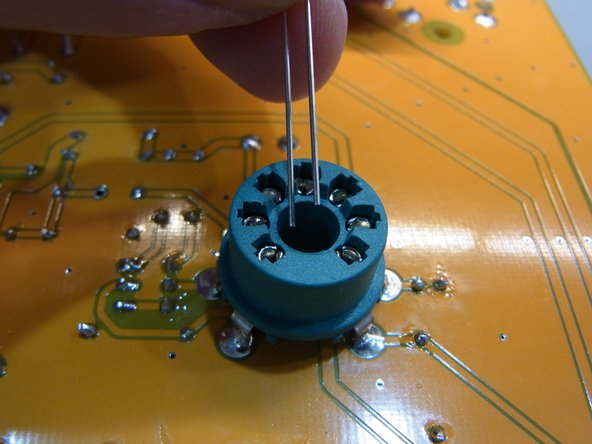
The jumper pins are a challenge to solder into the PCB, but there's a good solution utilizing the Tube box -
-
Place the pins into the solder pads, and put one end of the tube box on the pins. (without the blue cap)
-
Hold the pins and PCB together as shown and flip the board over
-
See step 2
-
-
-
With everyone resting upon it, the box will hold the pins in place.
-
Solder the pins. Repeat for other set of jumper pins.
-
-
-
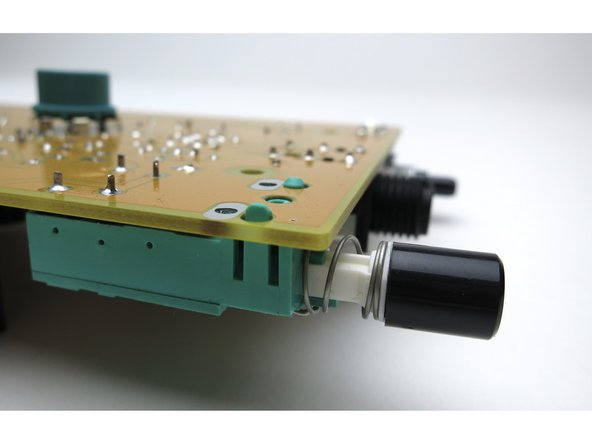
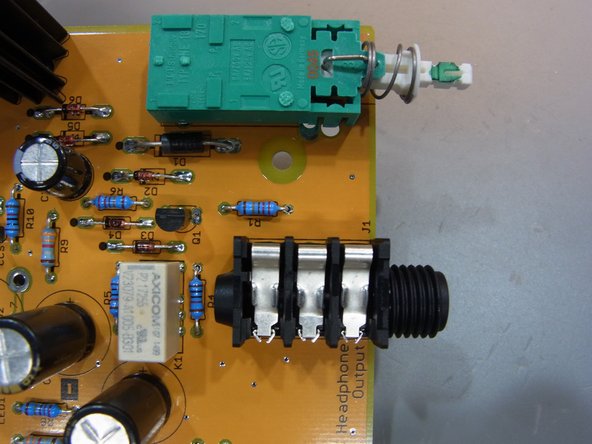
The switch has snap-in tabs as well as electrical connections. The black switch cap just pushes on.
-
Make sure the switch is sitting on the PCB low and square, failure to do so will result in it not properly lining up with the chassis openings.
-
-
-
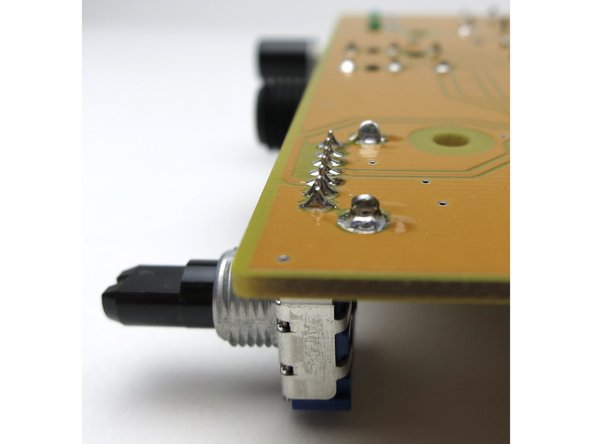
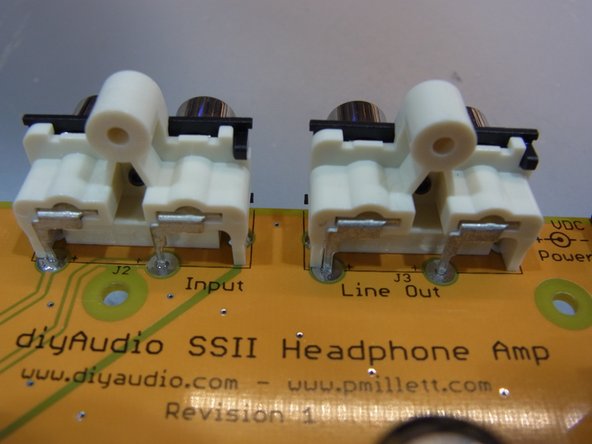
The Headphone Jack has 2 plastic alignment pins and 6 solder pins.
-
The potentiometer have a row of pins, which are the electrical contacts, and the two bigger tabs, which are supports.
-
-
-
Make sure all these components are sitting on the PCB low and square, failure to do so will result in it not properly lining up with the chassis openings.
-
-
-
The relay fits on the board as shown. It's pins are keyed and cannot be installed backwards
-
-
-
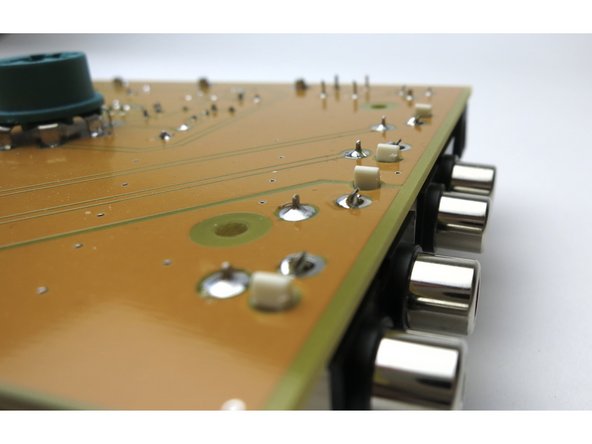
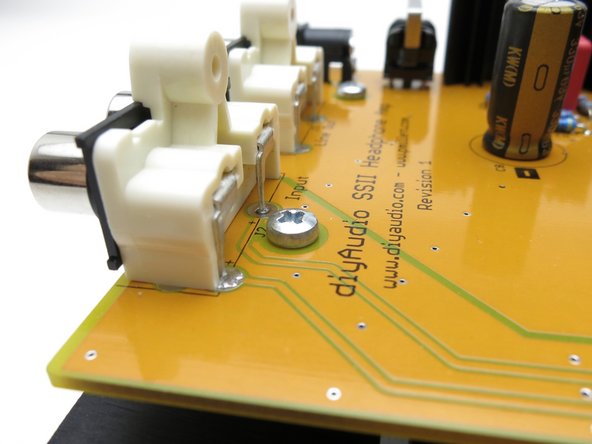
The RCA connectors. These have snap-in tabs as well as metal connections.
-
Make sure they are sitting flush and seated tight before soldering.
-
-
-
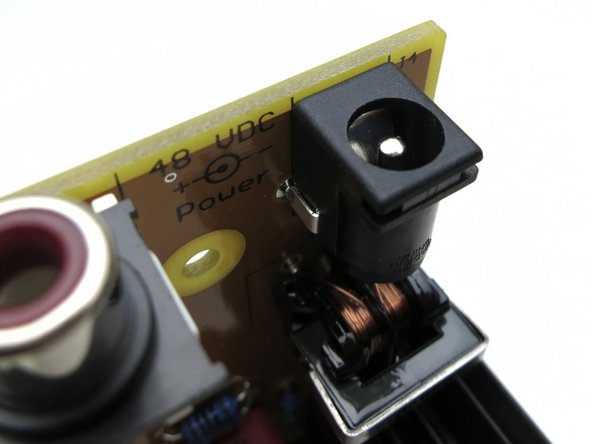
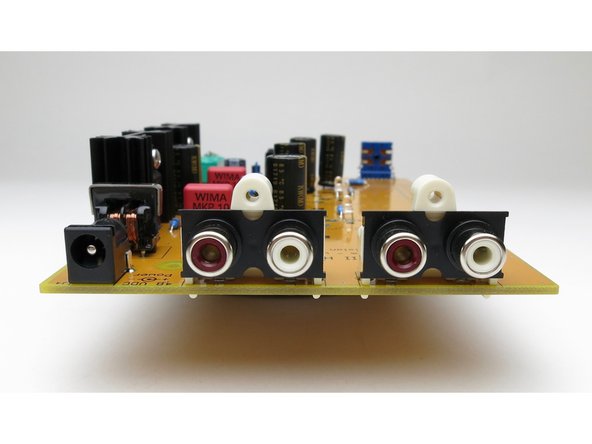
DC power Jack and RCA jacks
-
-
-
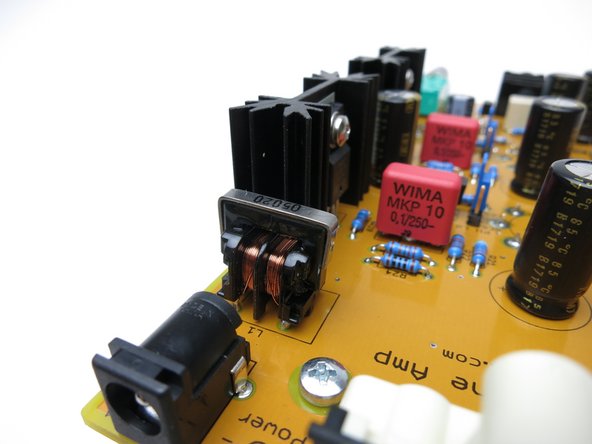
The common mode choke can go into the PCB either way – orientation doesn’t matter. Put it in the PCB and solder. You don’t need to trim the leads.
-
-
-
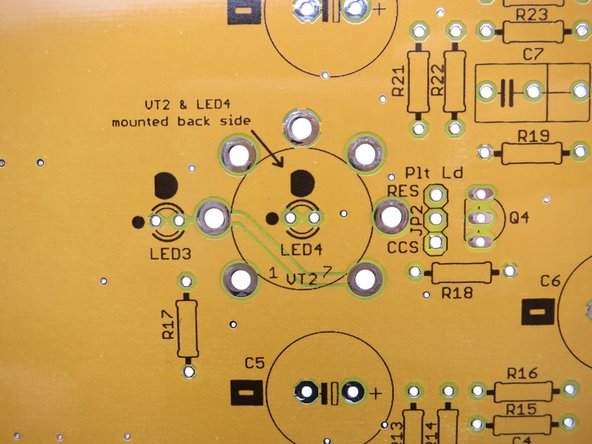
The top of the PCB mounts the tube sockets as well as 2 of the LEDs.
-
Photo 2 - solder the LED into the board only after the socket is installed. Make sure the LED is not higher than the socket. Note that the short leg of the LED is on the side with the black dot.
-
-
-
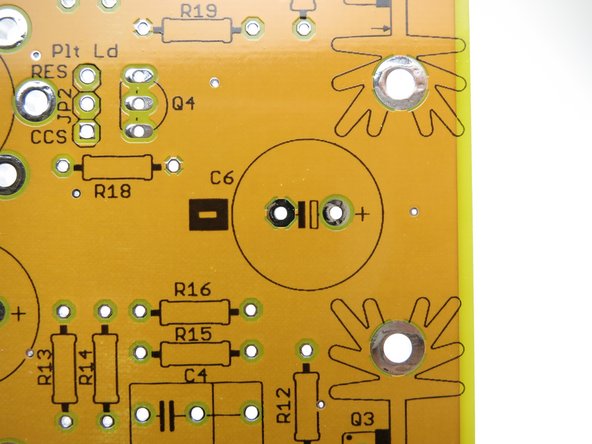
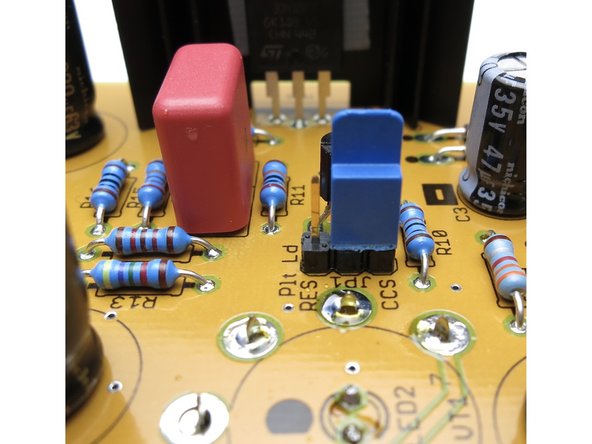
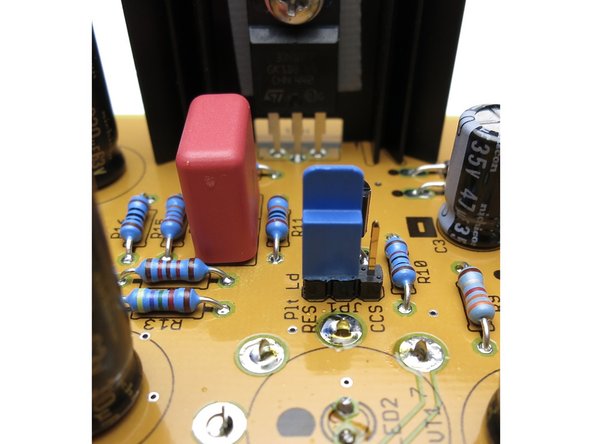
The jumpers are used to choose the plate load of the tube.
-
You may choose a CCS load (constant current source) or resistor load.
-
Simply move the both jumpers (one for each tube) so the middle pin connects to the pin marked "RES" or "CCS"
-
If you want to try the other load, power down and unplug before changing the jumpers.
-
-
-
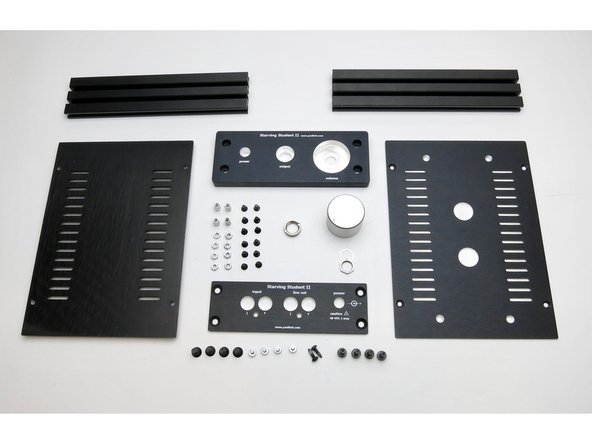
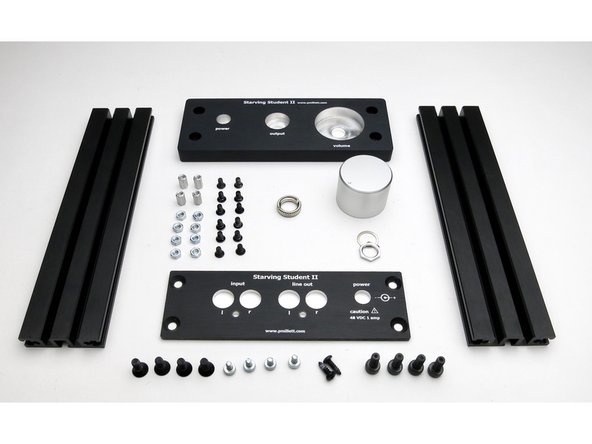
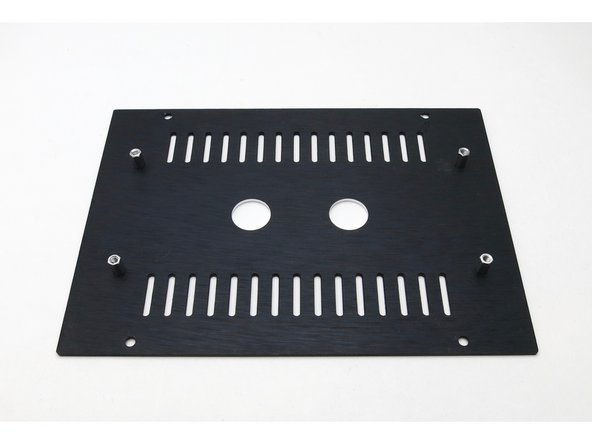
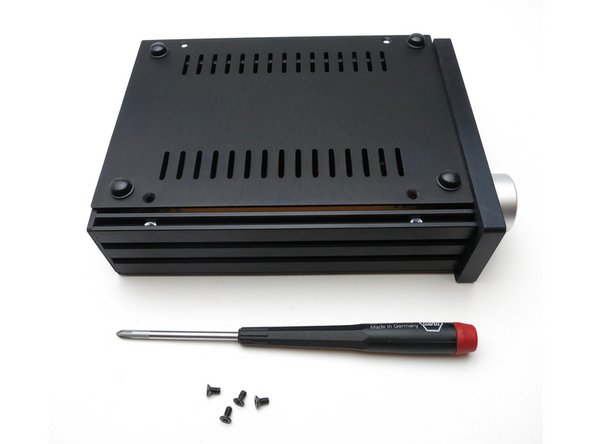
Chassis parts
-
Note - Like all the HiFi2000 chassis, everything bolts/attaches into the side rails to hold it all together, and loosening everything a little and wiggling it is actually an effective way to get it all to line up in the final stages.
-
If something doesn't line up properly towards final assembly, check the alignment of the component on the PCB first, then try to tweak the chassis.
-
-
-
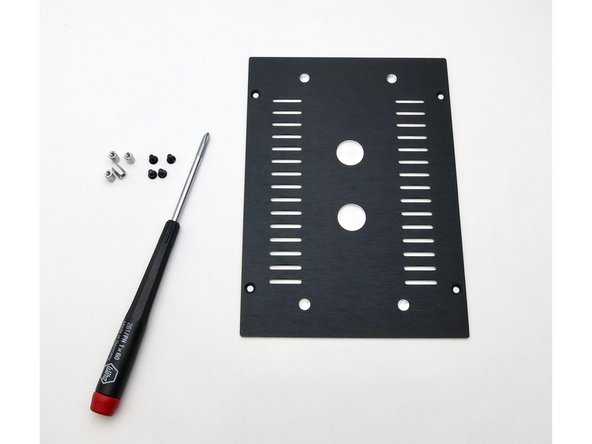
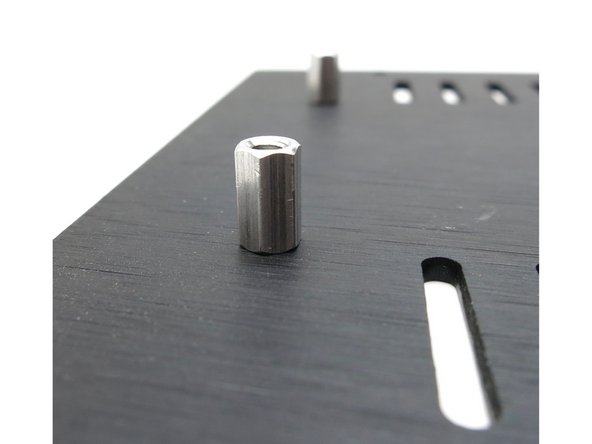
Attach the standoffs to the top plate with the black countersunk screws.
-
-
-
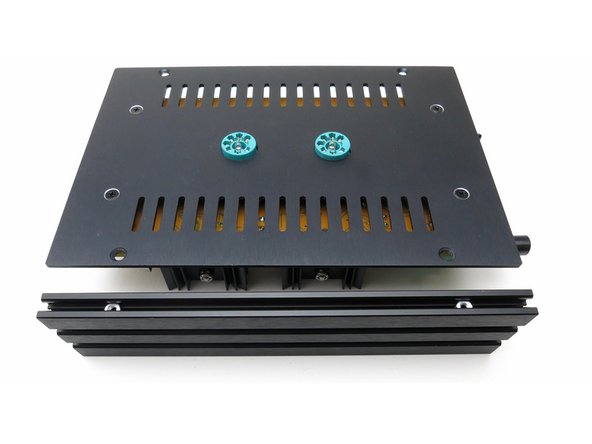
Attach the PCB to the top plate with the silver button head screws.
-
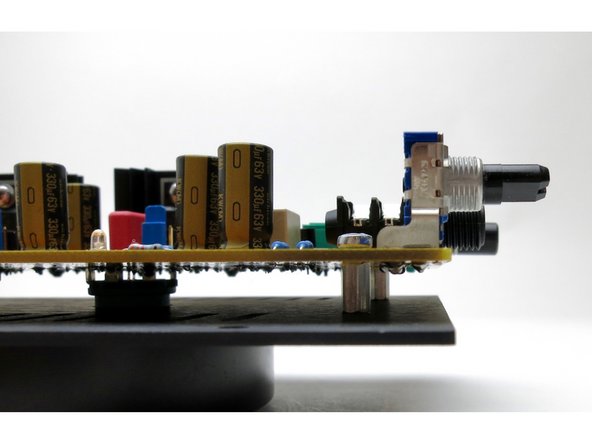
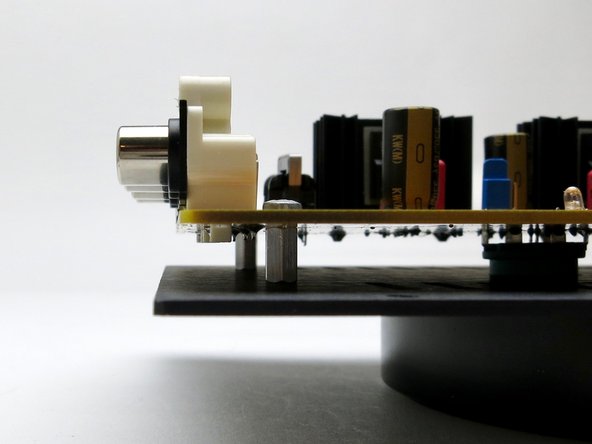
Note that the front edge (with the potentiometer, switch and jack) of the PCB will be flush with the top plate.
-
-
-
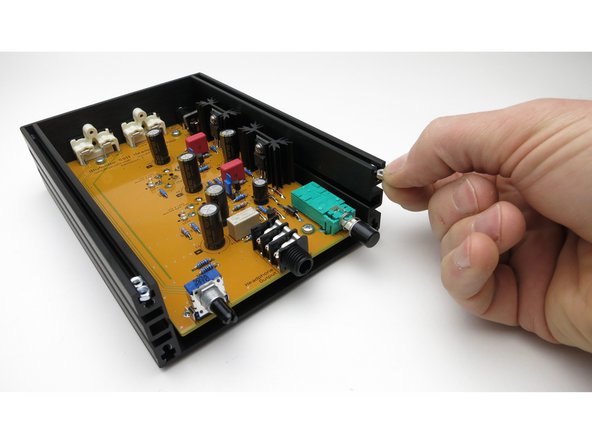
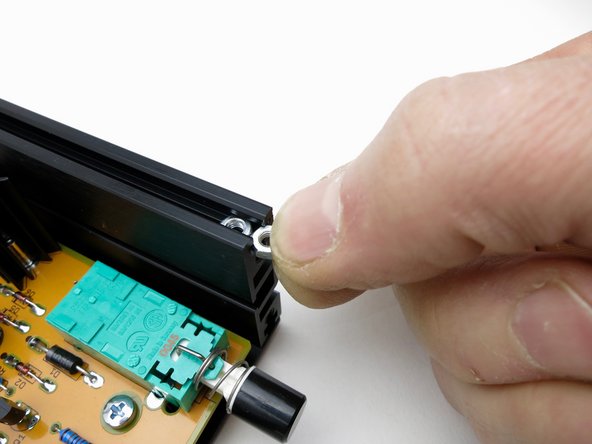
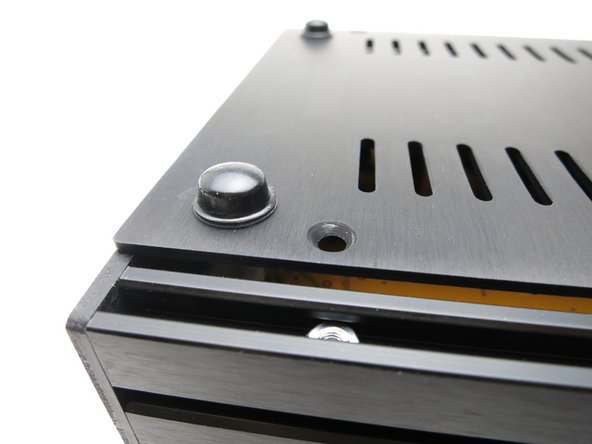
Put nuts into the aluminum side rails and secure top plate with small black countersunk screws.
-
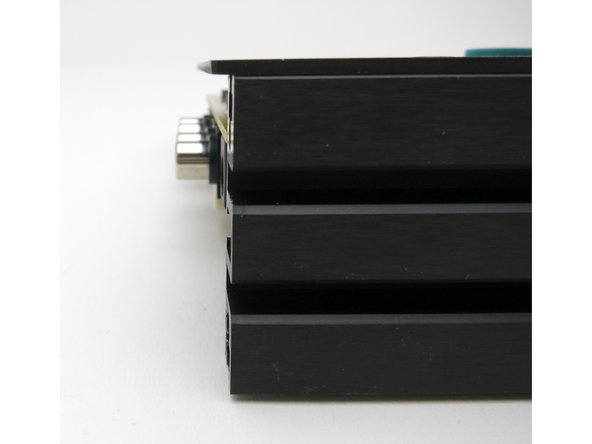
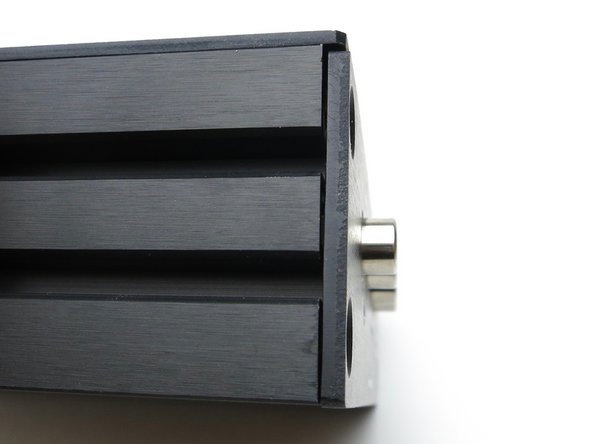
Photo 2 - There will be a space underneath the lid on the back of the chassis,
-
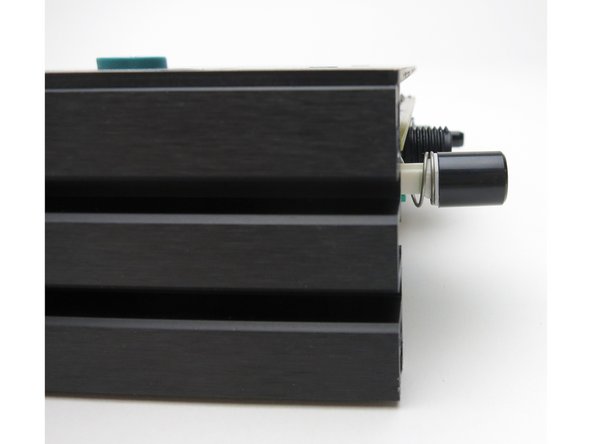
Photo 3 - but on the front the lid and the side rails will align flush.
-
Don't worry about getting it 100% perfect right now, there will be a chance to square up the chassis later.
-
-
-
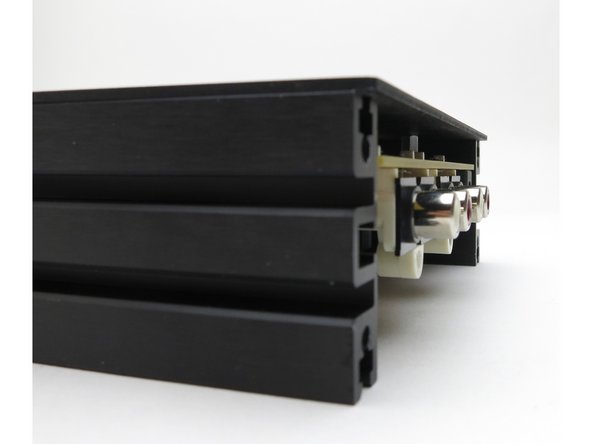
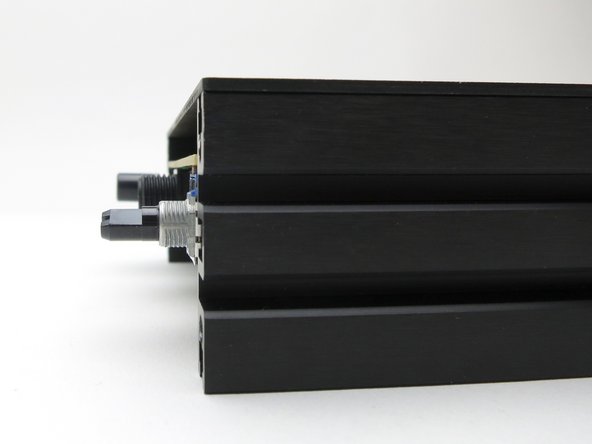
The PCB will be slightly behind the side rails, and the top plate will hang over both the PCB and rails.
-
-
-
The PCB, top plate, and PCB will all be flush with each other.
-
-
-
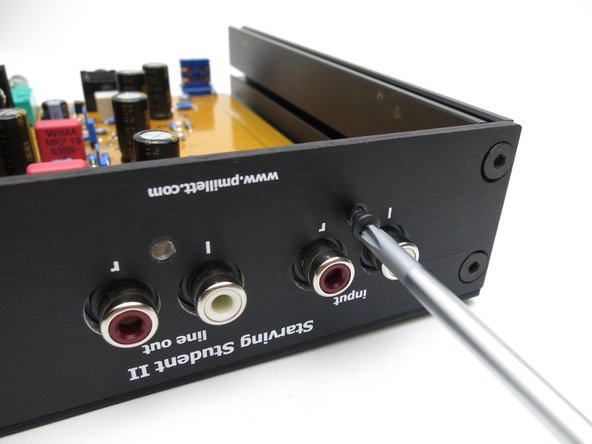
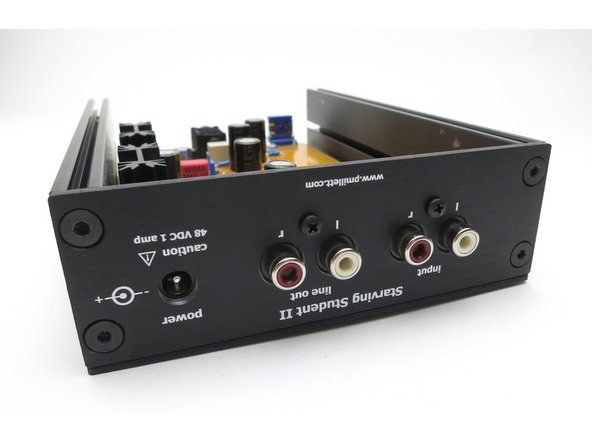
Rear panel attaches with black countersunk screws.
-
-
-
Make sure you insert the nuts for the bottom panel screws into the aluminum side rails before attaching the front
-
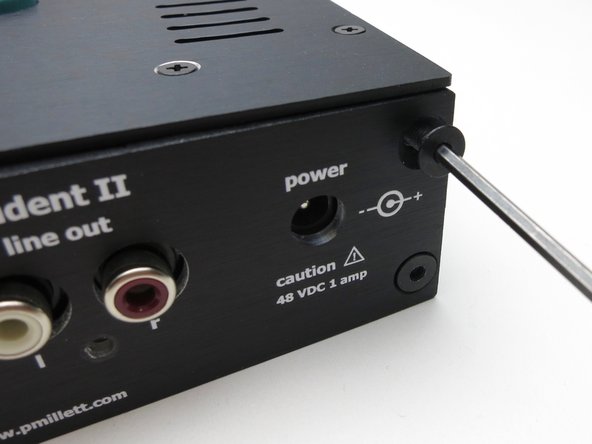
Front panel attached to side rails with black hex-head screws.
-
-
-
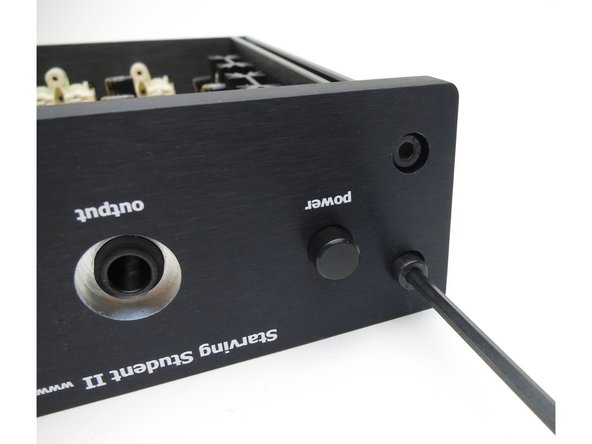
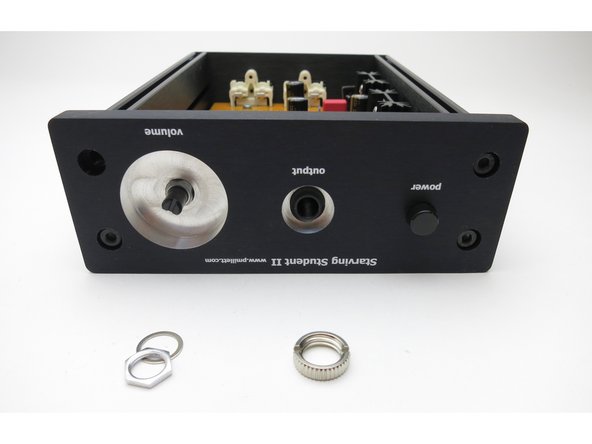
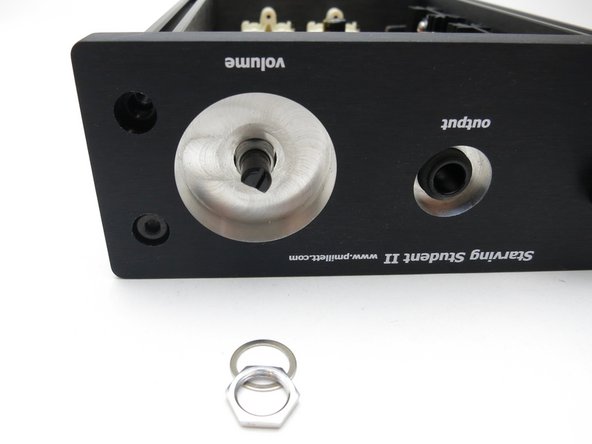
Slide the front panel into place. It might take a little jiggling to get everything to line up and fall into the holes. Fasten the panel to the extrusions using the black socket head screws supplied with the enclosure. Then, thread the nuts supplied with the kit onto the volume control shaft, and the headphone jack.
-
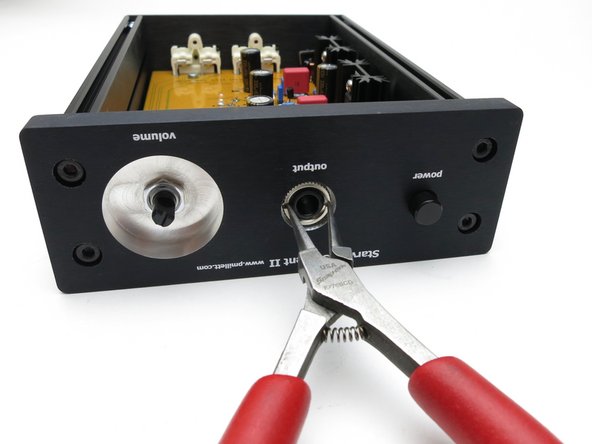
The headphone jack nut is a little difficult to tighten. It doesn’t have to be real tight. Get it as far in as you can by hand, then use needle nose pliers to fit into the notches and tighten it a little more. Be careful not to scratch the front panel when doing this!
-
-
-
Turn the pot all the way down before attaching knob. The knob attaches to the shaft with the setscrew.
-
Photo 2 and 3 - It's helpful to align the nuts in the rails with the holes before attaching the bottom panel with the screws.
-


Cancel: I did not complete this guide.
9 other people completed this guide.