
-
-
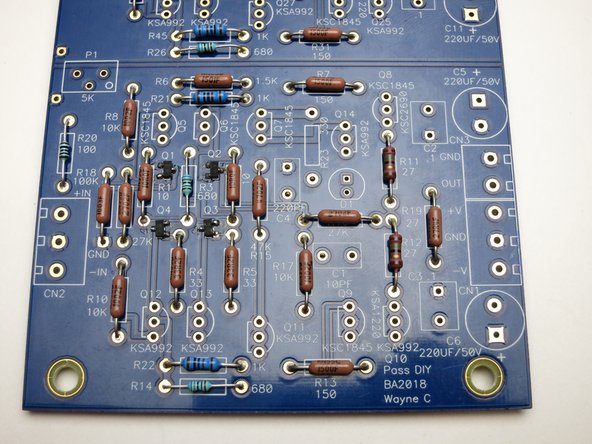
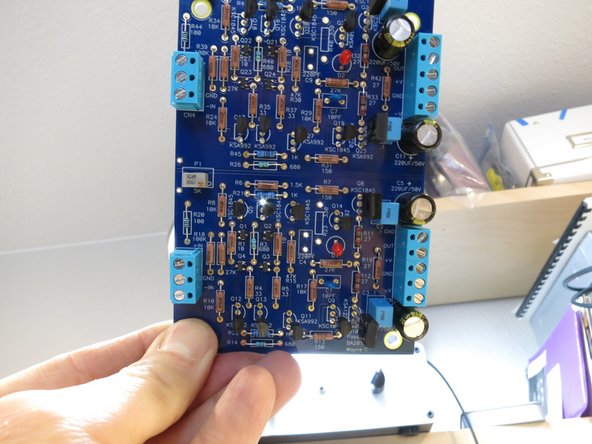
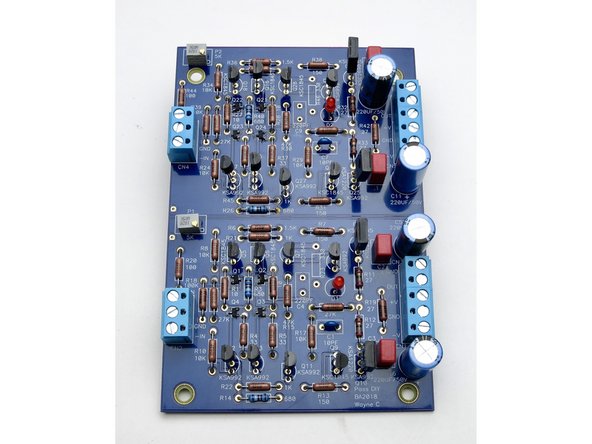
Wayne Colburn's Linestage from Burning Amp Festival 2018.
-
Absolutely fantastic sounding circuit, can even drive headphones (very nicely) with optional big output transistors.
-
-
-
Read the text.
-
Look at all the photos (Mouseover or touch to view thumbnails)
-
Read the text again :)
-
You can click into the photos and they will open at maximum resolution in a new window.
-
-
-
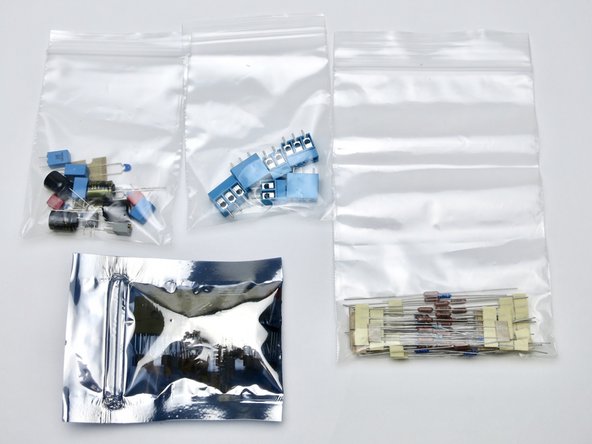
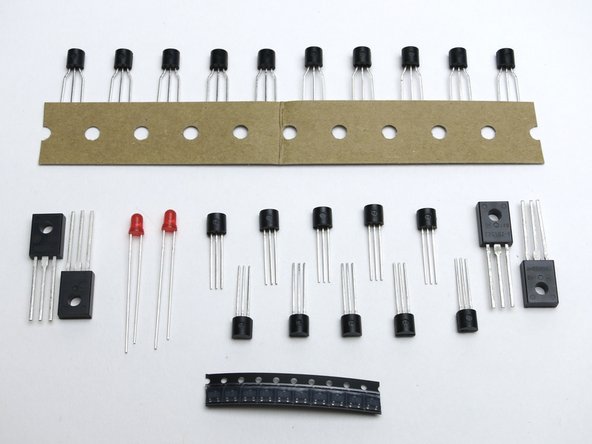
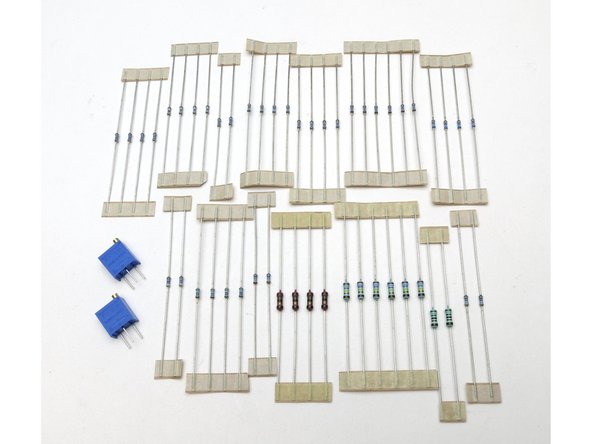
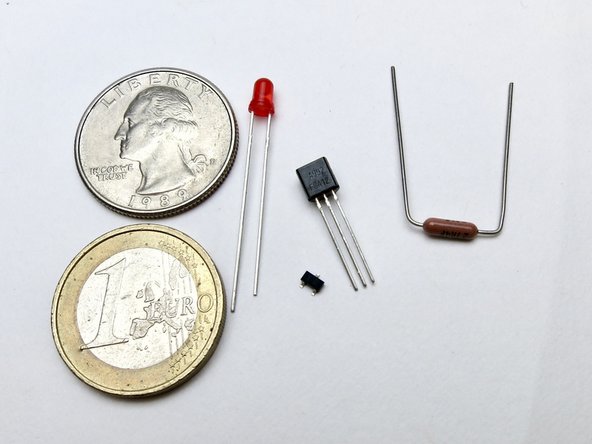
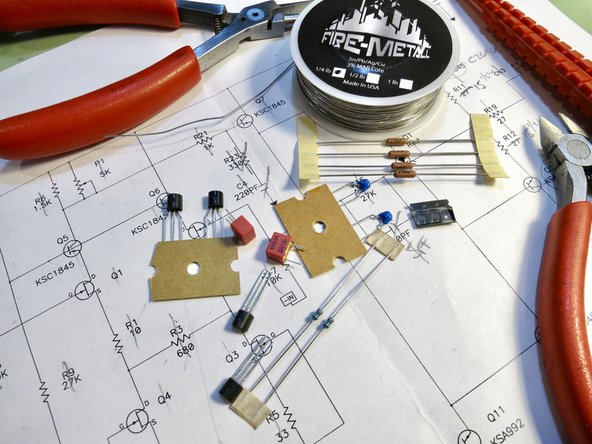
This kit contains all the parts to stuff the audio circuit PCB.
-
It contains extra parts so you can choose to use the big output transistors or the standard.
-
Not all included parts are exactly as-shown in the photos, substitutions of equal or better quality will be made depending on what is available at the time kits are packaged.
-
-
-
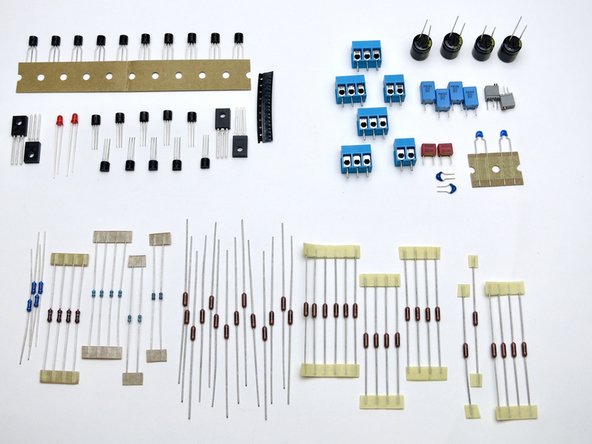
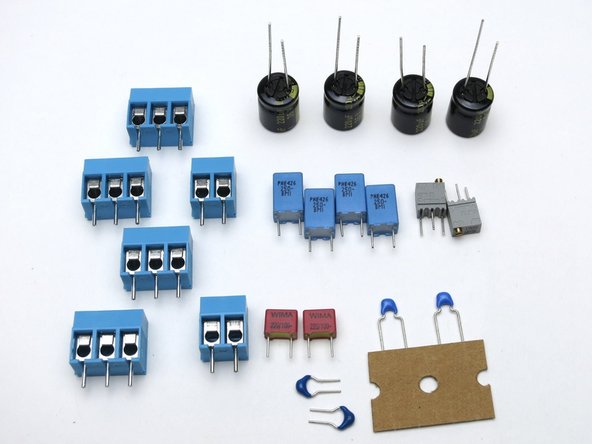
Please note the 10pF capacitors are the two on the tape, the 5pF are loose.
-
-
-
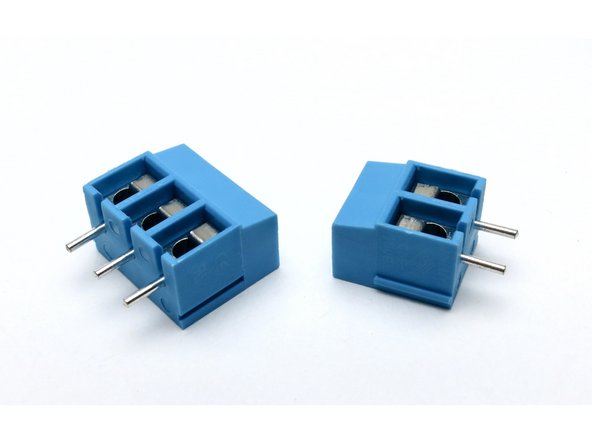
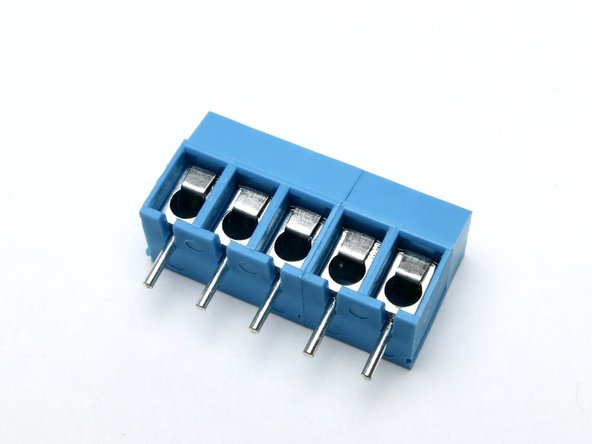
The blocks all have small dovetails to interlock together.
-
-
-
Yes, there are ten of the small SMD transistors. In case you drop one on the floor or, god forbid, sneeze...
-
-
-
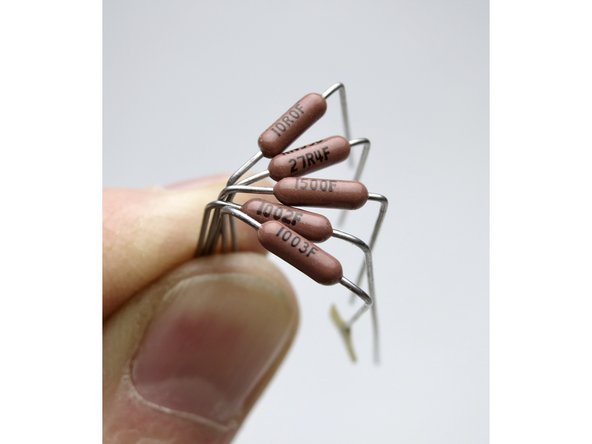
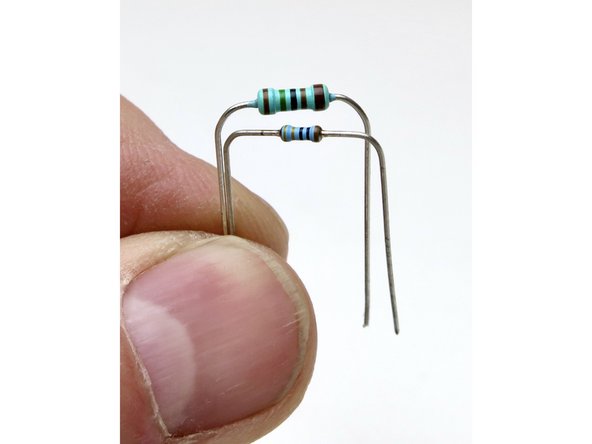
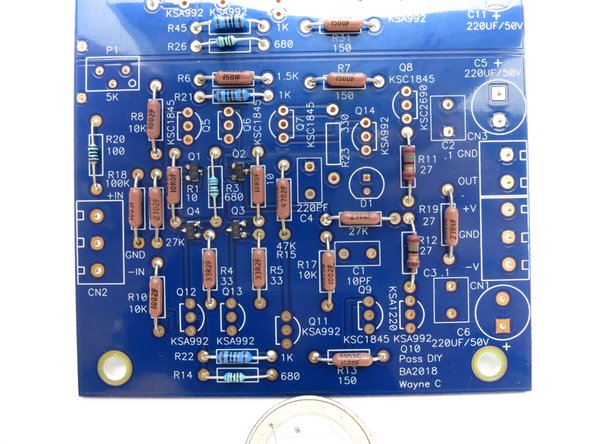
The Dale RN/CMF series are 3-digit + multiplier.
-
The bottom, marked "1003" is 100K, since you have 100 and three zeroes. The one marked "1002" is 10K.
-
"1500" is 150 ohm, as the value is 150 plus zero zeroes. This is not 1.5K
-
Below 100 ohm the letter "R" is placed at the decimal place, "27R4" is 27.4 ohms, and "10R0" os 10 ohms.
-
Banded resistors follow the 5-band standard code.
-
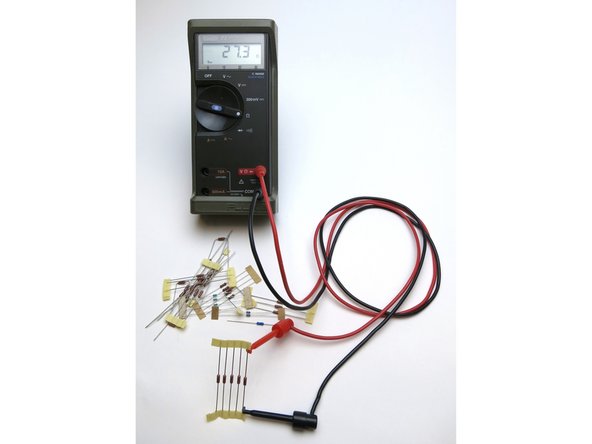
But even with that easy system, Measure All Resistors before stuffing and soldering.
-
-
-
Kits packages in spring of 2022 include the the very nice, but small, premium, European-made, Vishay MBA series resistors. Albeit a small package, these are ceramic bodied and 0.4W (almost 1/2W) max dissipation, and we are using them in lieu of the more common 1/4W (0.25W).
-
The “large” resistors in the photos are normal-sized 1/4W (although the brown ones are 0.4W…)
-
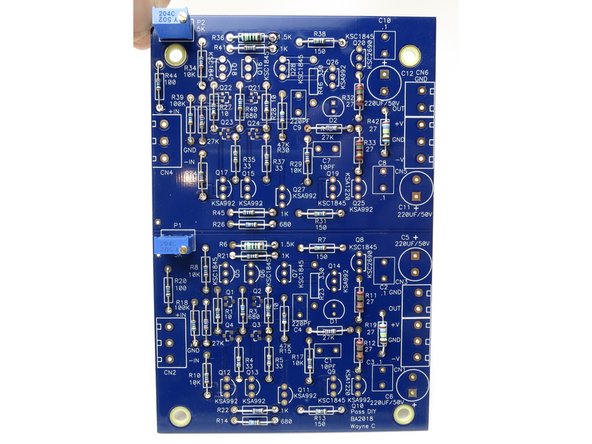
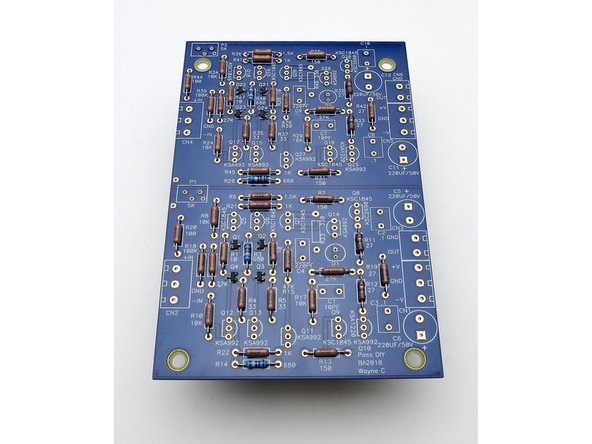
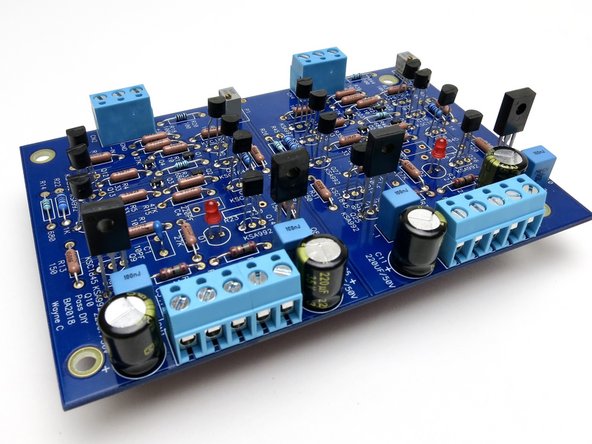
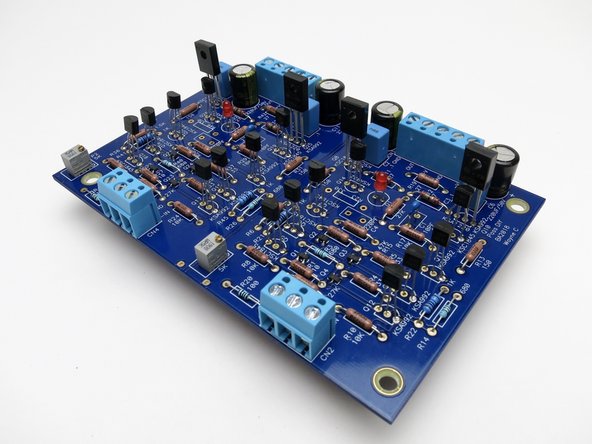
Please note that the PCB shown stuffed is setup for using the “big” output transistors, where R11,12, 32, 33 are 15ohm, and R23, 46 are omitted.
-
-
-
Insert wisdom here.
-
-
-
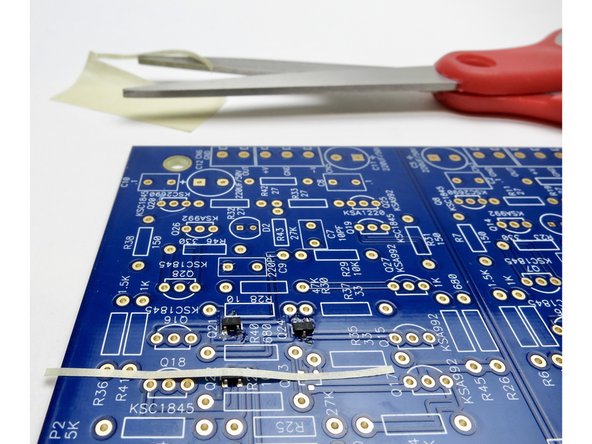
Yes, the SMD transistors are very small. It's not a big deal though, we'll show you how to position and secure them for soldering in the next step.
-
-
-
Get some masking or painter's tape and cut into a 2-3" (50-75mm) strip that is very thin.
-
Tape the transistor in the middle of the tape, feet down, and use the rest of the tape to align it on the pads.
-
Secure the transistor with the longer pieces of tape and solder one leg.
-
Once you have one leg soldered, the other two are easy as it won't move around anymore.
-
All three legs of each transistor must be soldered for proper operation.
-
-
-
Resistors are next.
-
Neatness counts, bend the leads so the value is showing on the top and align them in the holes so they read left to right and bottom to top.
-
Banded resistors put the brown tolerance band on the bottom or the right.
-
Doing this greatly aids troubleshooting in the forum. (Because we can read the values in the photos)
-
-
-
Long leg in the square hole.
-
Also note that looking into the structure of the LED itself, the cathode is the parts that actually lights up and it's physically bigger than the anode.
-
-
-
Yes. There will be parts left over. This is normal.
-
The store kit includes parts for both the standard configuration and the 'large output' option. As well as two extra 2SK209 SMD transistors. (Extras provided just in case you sneezed...)
-
-
-
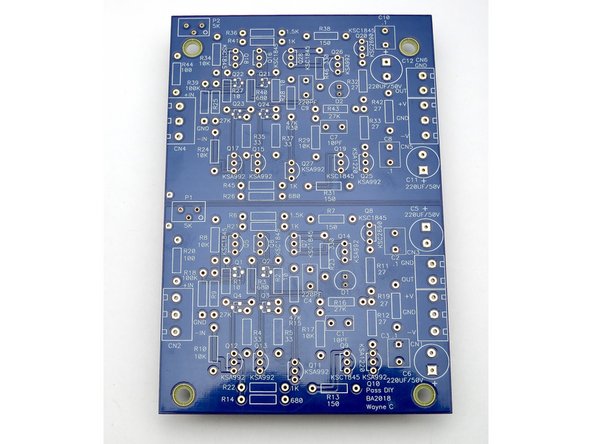
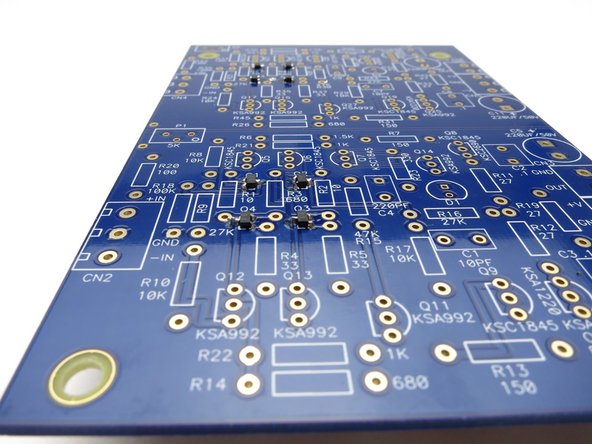
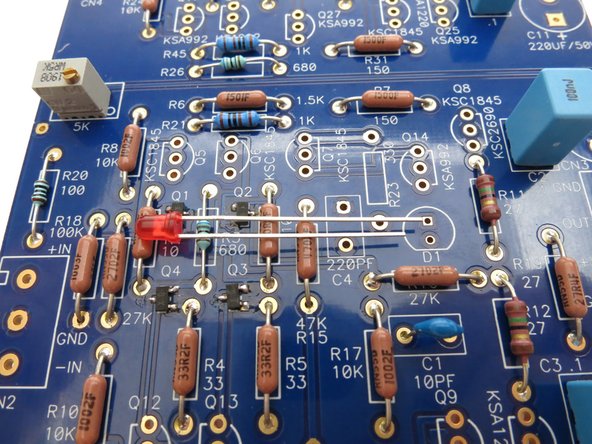
Hold the PCB up to a light and look at all the holes. If you miss any solder joints they will be obvious.
-
You can see the pad I missed soldering on one of the central transistors,
-
-
-
Insert wisdom here.
-
-
-
Insert wisdom here.
-


Cancel: I did not complete this guide.
6 other people completed this guide.